ASP.NET Core Debugging Nuget Packages with AzureDevOps | VSTS Symbol Server
Let's get straight to it. Debugging Nuget packages is extremely convenient, especially when working in a team environment where you don’t immediately have access to the source code. You don’t have to go looking for projects, slack teammates for access, or deal with the overhead of asking for help just to debug!
If you're working out of Visual Studio and trying to package a .NET Core project using AzureDevOps (formerly VSTS) and couldn’t for the life of you find A-Z instructions on how to Debug your .NET Core Nuget package, I think I can help.
Step 1.
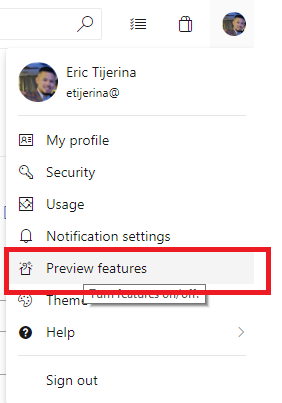
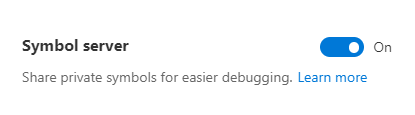
In AzureDevOps Enable Symbol Server. This step requires an Administrator account.
Step 2.
Download and install the latest version of Microsoft Visual Studio 2017.
https://visualstudio.microsoft.com/downloads/
Step 3.
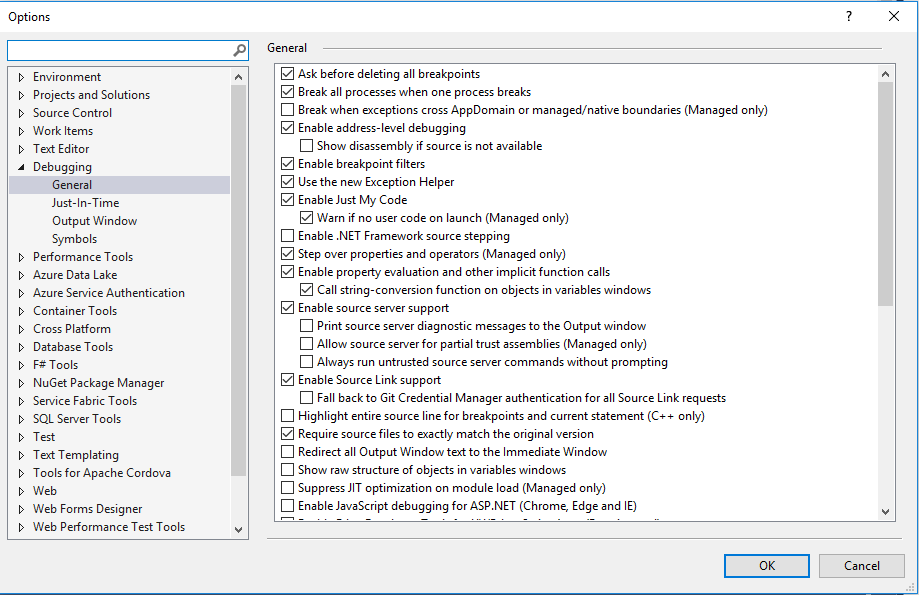
Configure Visual Studio to enable debugging remote packages.
Visual Studio > Tools > Options > Debugging > General
• Check “Enable Source Server Support”
• Check “Enable Source Link Support”
• Check “Require source files to exactly match the original version”
• Uncheck (or leave unchecked) “Enable .NET Framework source stepping”
Step 4.
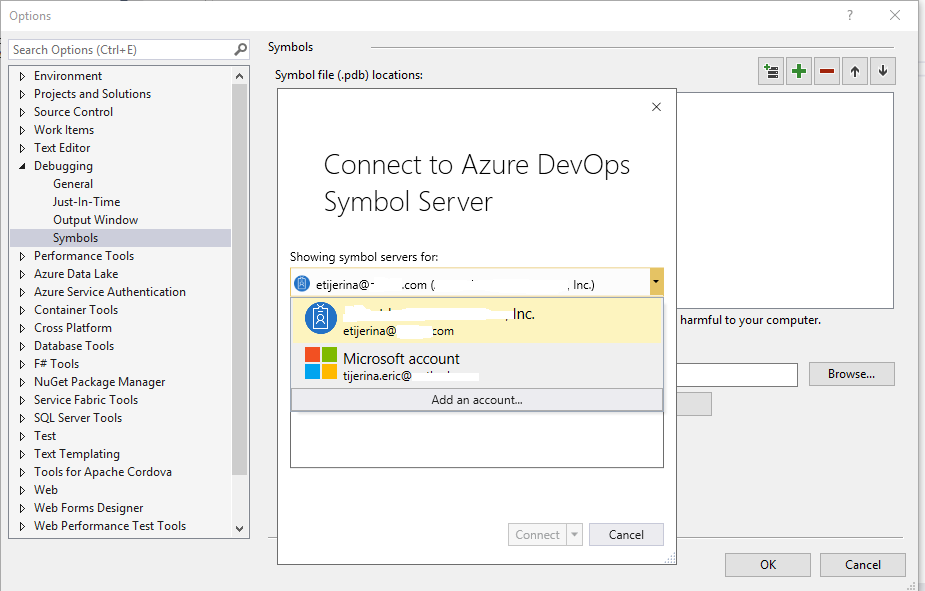
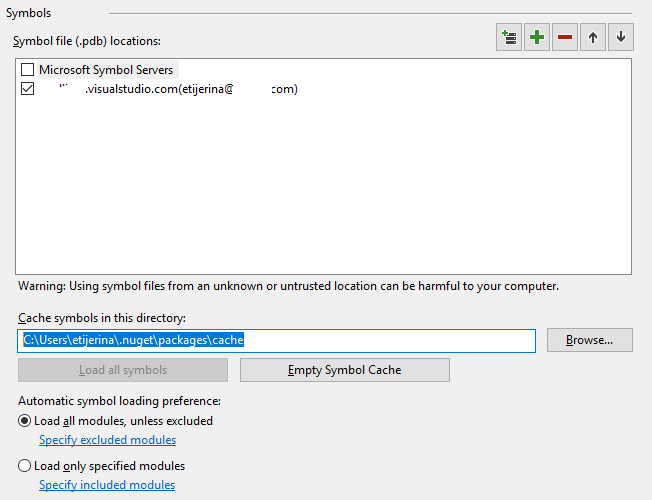
Add your AzureDevOps Symbol Server location.
Visual Studio > Tools > Options > Debugging > Symbols
• Click the “New Azure DevOps Symbol Server Location…” icon
• Sign-in to the desired AzureDevOps domain where your symbols are published
• Set the ‘Automatic Symbol Preference’ to “Load all modules, unless excluded.”
• Make sure your Symbol file (.pdb) location is checked and hit OK
Step 5.
Now that Visual Studio & AzureDevOps is wired up to publish symbols & debug them let’s move on to prepping our .NET Core project for packing.
• Right-click your .NET Core project and click ‘Properties’
• Go to the ‘Build’ tab, scroll down and click ‘Advanced…’
• Change the Debugging information from ‘Portable’to‘Full’
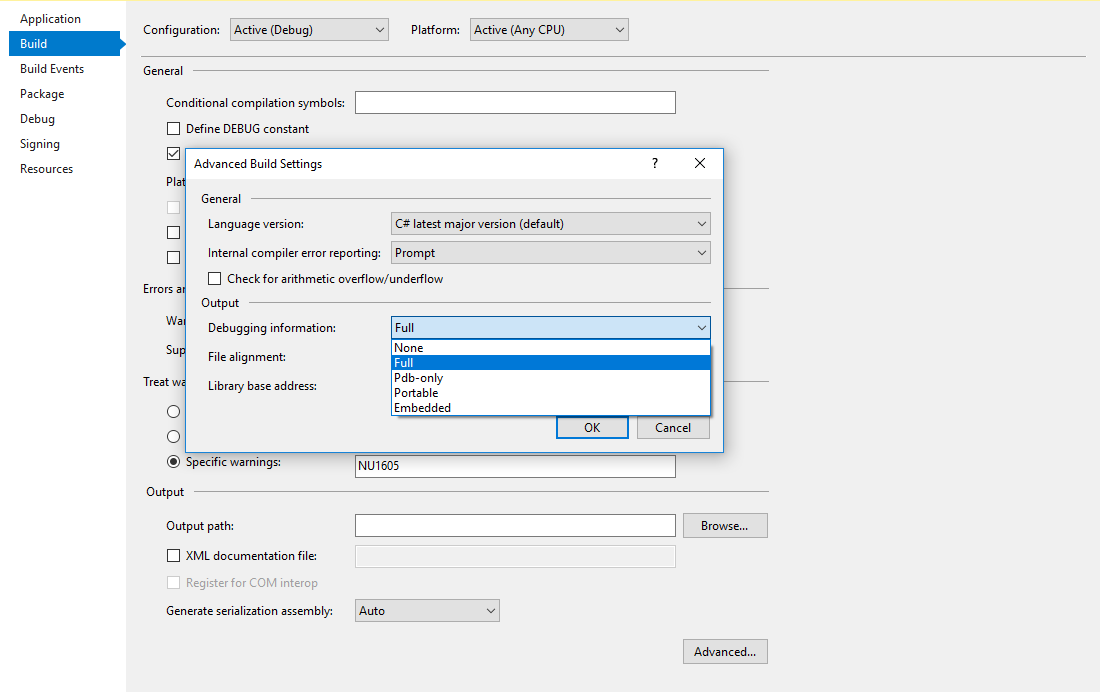
This is one of the most important steps for debugging successfully. By default, .NET core projects are set to ‘Portable’. They do this, for what I believe, is cross-compatibility debugging across IDE’s. However, we only want to debug these Nuget packages from Visual Studio. If this does not fit your use-case scenario than STOP HERE.
The .PDB file contains indexes of your project’s code. When the output is ‘Portable’ you will not be able to debug all of your lines of code. The debugging that it provides is basically useless. By changing this to ‘Full’ the .PDB file publishes all of the indexes from the projects code and you’re given the complete debugging experience.
Note: These changes will need to be committed before packing via AzureDevOps
Step 6.
Login to AzureDevOps, open up your Build Pipeline and do the following:
• From the Variables tab, add a Pipeline Variable named ‘BuildConfiguration’ and give it the value ‘debug’
• Get Sources > Verify that you’re connected to the repository using the latest code changes found in step 5.
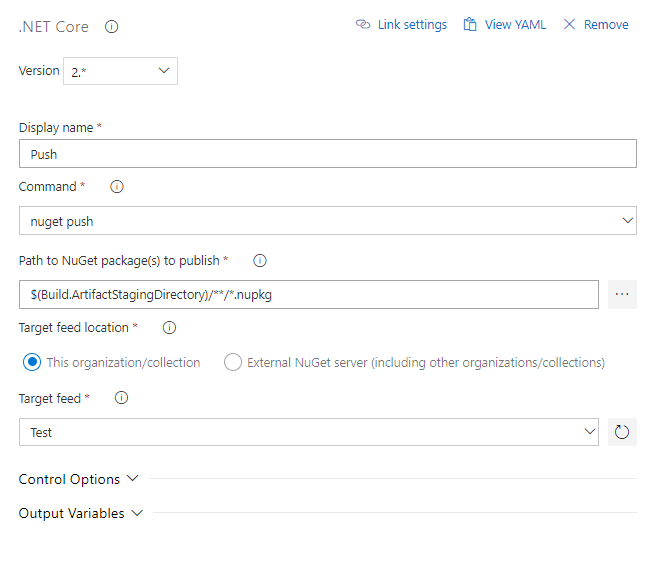
• Create your Nuget task pipeline

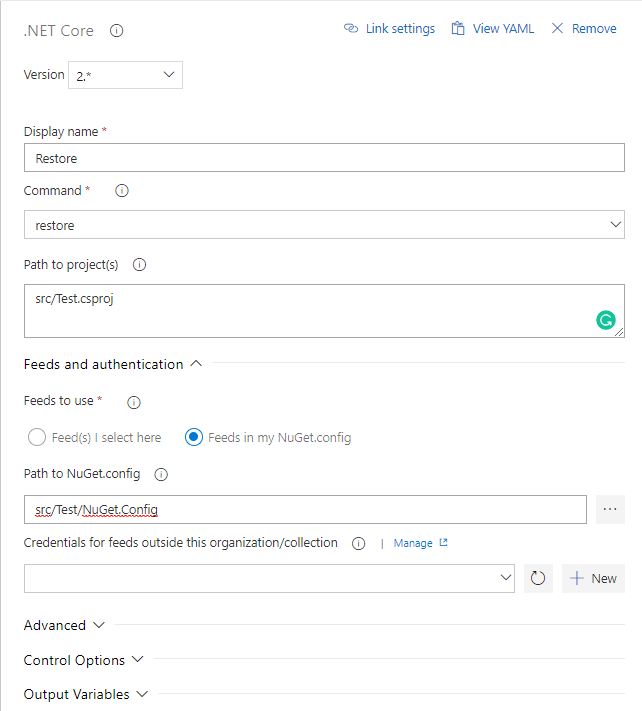
• Add a .NET Core task ‘Restore’
• Add a .NET Core task ‘Build’ and make sure the arguments are set correctly. This should build the project using the ‘debug’ configuration. Make sure the arguments are set correctly.

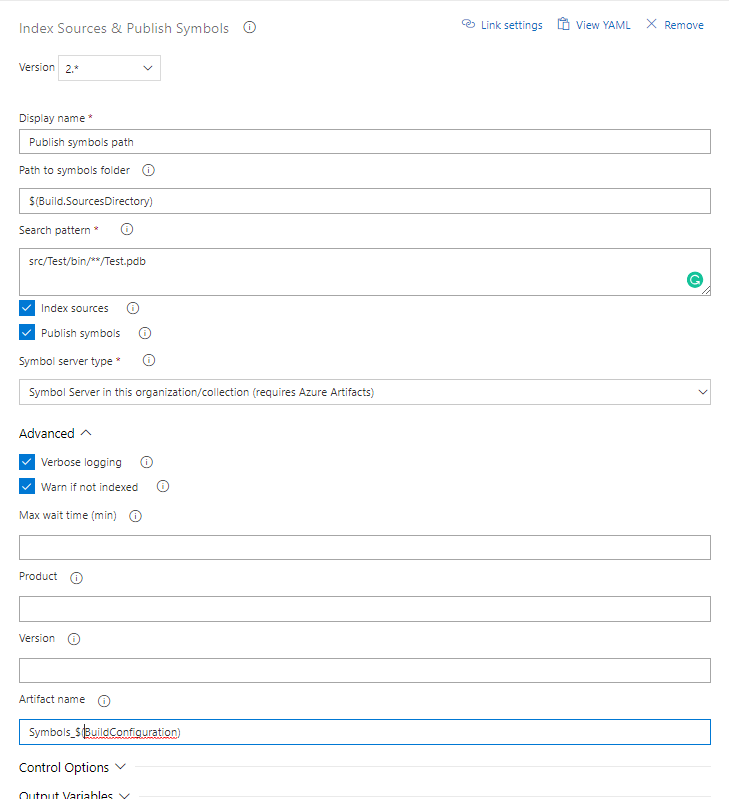
• Add a .NET Core task ‘Publish symbols path’
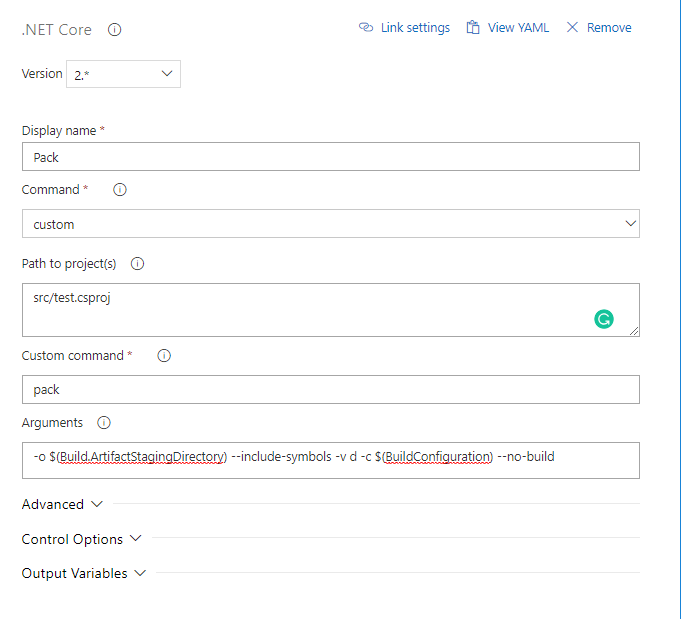
• Add a .NET Core task ‘Pack’ using the ‘Custom’ command. The “--include-symbols” and “-c $(BuildConfiguration)” command must be included. This step builds the configuration in ‘debug’ so symbols are generated and included in the package.
• Add a .NET Core task ‘Push’ and publish your package to your target feed
Step 7.
Queue your build and publish your Nuget Package to its target feed.
Final Step.
Now that your package is deployed, it can be consumed and debugged from any Visual Studio instance that has access to your organization’s AzureDevOps portal.
In order to validate your package symbols are downloading correctly, update existing project references to that new package and debug locally.
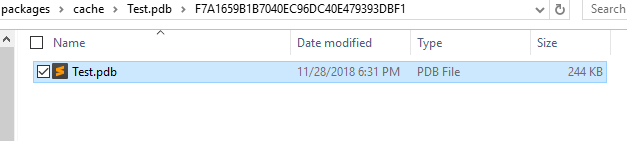
When stepping through the Nuget package have your Cache symbols directory open (default location C:\users\(username)\.nuget\packages\cache)
The first time you debug this Nuget package Visual Studio will attempt to look for symbols in this folder. If no symbols are found it will check the AzureDevOps symbol server for matching symbols and download them to your local cache.
It should look something like this.
…And that’s it!
The debugging experience should be seamless if setup correctly. No additional windows and certainly nothing more than what you’re already used to while debugging. If it’s not awesome, then either something is not configured right OR my instructions suck.
In any case, if you find any inaccuracies feel free to let me know in the comments below. Cheers.